Step 1 – Access https://ustraveldocs.com/
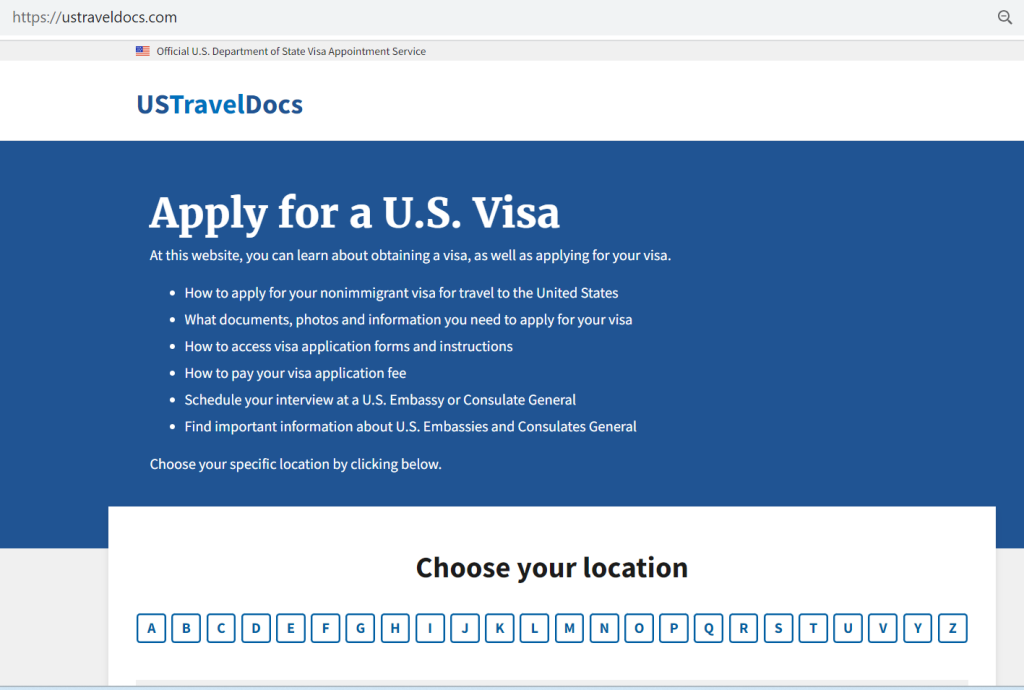
Step 2 – Select your Country and Types of Visa?
Step 3 – Select your types of Visa
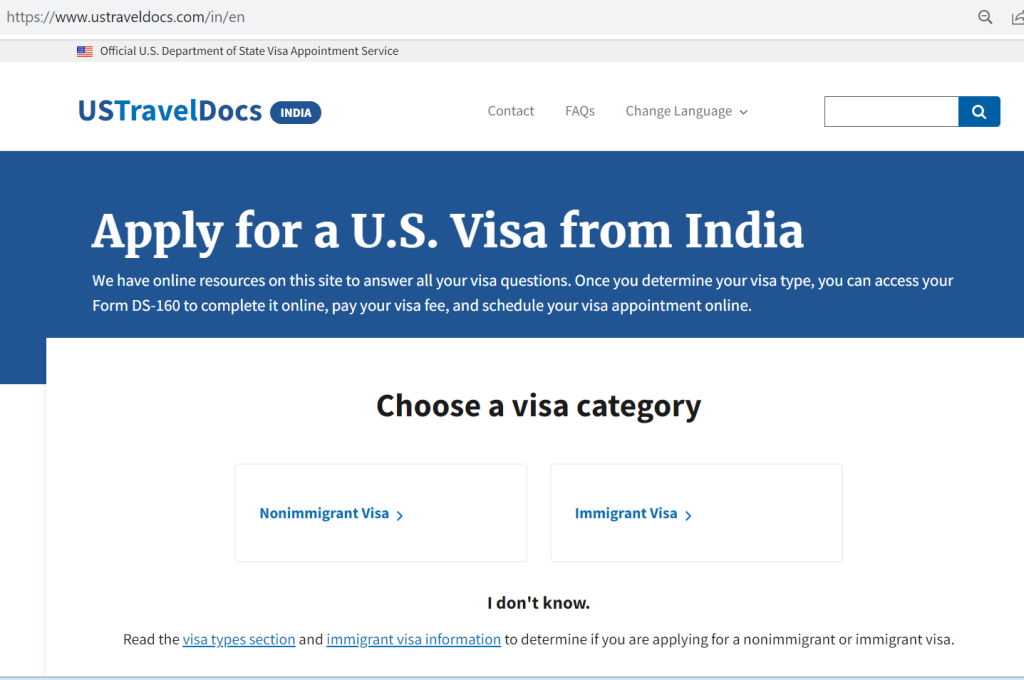
Step 4 – Follow the Process
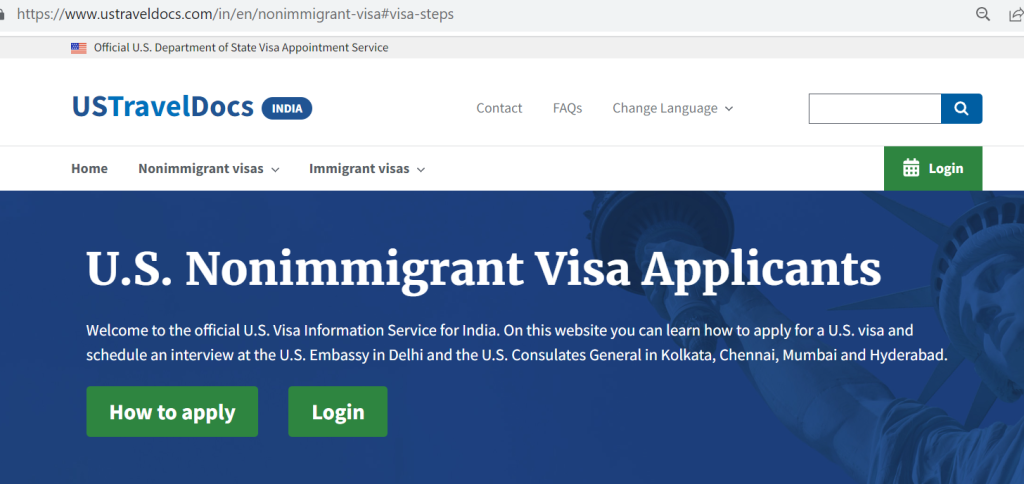
Step 5 – Create an New Account
https://www.usvisascheduling.com/
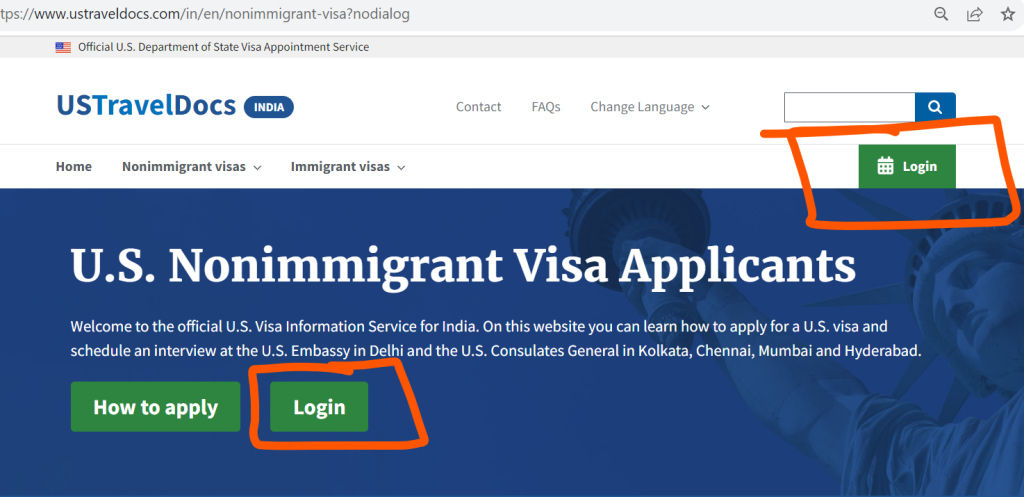
Step 6 – Login and Follow
Notes and Instructions
Before you proceed to the next step ensure that all details including the passport bio data and DS-160 information are correct for all applicants scheduled during this session. Any incorrect data might lead to the cancellation of your appointments and/or purchase of a new visa fee receipt. Visa fees are not refundable nor transferrable.
-: ————————————–
1:The U.S. Embassy/ Consulates in India offer free document pickup/submission services at the OFC where the Embassy/Consulate is located. Applicants collecting/submitting documents from any other locations will need to pay a nominal fee of Rs 850/- per individual at the time of pickup/submission.
-: ————————————–
2: Please carry a photograph as per U.S. Visa specification for minors below 14 years of age, while visiting the Visa Application Center.
-: ————————————–
3: Each visa applicant must independently meet the renewal category criteria to qualify for interview waiver if applicable. Family/group member not eligible for renewal category should apply individually.
-: ————————————–
4: Please provide accurate contact numbers (for your local country) and email ID on your account so that you receive timely updates.
-: ————————————–
Important note for NEFT Payment: U.S. visa fee amount is non-refundable. Hence, we request you to delete the account details from the payee list once the visa payment is successful to avoid erroneous transfer of fund in the future.
Complete your application
Please confirm whether or not you need to apply for a visa. You may not need to apply for a new U.S. visa if you already hold a valid U.S. visa of the classification appropriate to your purpose of travel, or hold a passport eligible for travel under the Visa Waiver Program, or if you hold a Canadian passport.
If you do need to apply for a nonimmigrant visa, please follow the steps below.
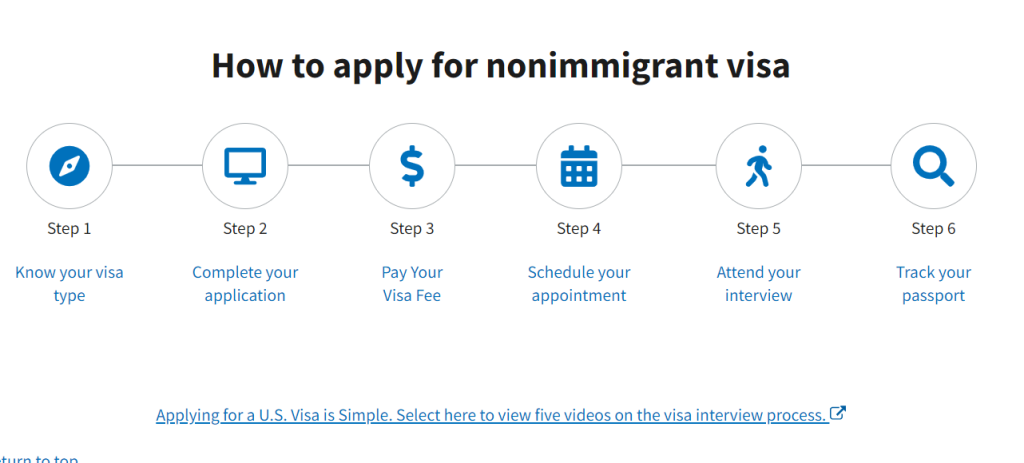
How to apply
Step 1: Know your visa type
For Nonimmigrant Visa applicants:
Determine your visa type by reading Common Nonimmigrant Visas. Each visa type explains the qualifications and application items. Choose the visa type that applies to your situation.
Be sure to review the Visa Waiver Program. If your country participates in the Visa Waiver Program, you do not need to apply for a visa if you are traveling for business or pleasure and will only be staying in the United States for 90 days or less.
Step 2: Complete your application
Complete the Nonimmigrant Visa Electronic Application (DS-160) form . Be sure to read the Guidelines for Completing the DS-160 Form carefully. All information must be correct and accurate. Once the form is submitted, you cannot make any changes. If you need assistance, please consult an immigration lawyer or translator. The call center cannot help you complete your DS-160. You will need your DS-160 number to book your appointment.
Note: If denied a visa previously please complete a new Nonimmigrant Visa Electronic Application (DS-160) form .
Step 3: Pay your visa fees
Once you have determined the correct visa type and completed the DS-160, you must pay the visa fee. The visa fee page lists the visa types and correlating visa fee in U.S. dollars and local currency.
To pay your visa fee, read the bank and payment options page. This page explains how to make your visa fee payment. You will create a profile and must keep your receipt number to book your visa appointment.
Step 4: Schedule your appointment
You are almost ready to schedule your visa appointment! Now you will need to login to your profile with the same credentials you used to pay your visa fee. Once you are in the system, you will see your dashboard.
Select the Schedule Appointment button. This will start the process for scheduling your appointment.
- You must schedule two appointments, one for the Visa Application Center (VAC) and one for the visa interview at the Embassy or Consulate.
- First, schedule your appointment at an Visa Application Center. This appointment will allow you to go to one of the five Visa Application Center locations to have your fingerprints and photo taken. This appointment must be at least 1 day before your visa interview appointment at the Embassy or Consulate.
- Second, schedule your visa interview appointment at the Embassy or Consulate.
- Same day appointments can be scheduled for certain visa classes. The VAC appointment time must be prior to the consular appointment time.
- Same day appointments are available for L1 Blanket visas in Chennai and as emergency appointments at all other posts.
You will need three pieces of information in order to schedule your appointment:
- Your passport number
- The visa application fee receipt number.
- The ten (10) digit barcode number from your DS-160 confirmation page
As you go through the process you will be able to select your visa type, enter personal data, add dependents, select your document delivery location, confirm visa payment, and schedule your appointment.
Step 5: Attend your interview
For your Visa Application Center appointment, you must present:
- A passport valid for travel to the United States with validity dates at least six months beyond your intended period of stay in the United States (unless country-specific agreements provide exemptions). If more than one person is included in your passport, each person desiring a visa must submit an application.
- Your DS-160 confirmation page.
- Your appointment confirmation page.
- One photograph as per U.S. visa specifications if the applicant is under 14 years of age. See photos and fingerprints for more details.
Step 6: Track your passport
If your visa application is approved, your passport and visa can be collected from the pickup location you selected when you scheduled for interview appointment. When your passport is available at selected location you will receive an email and an SMS that your passport is “Ready for Pick Up”. Domestic and international delivery services to applicant’s address are available as a premium service.
Important Notice: Children under 14 years of age are not required to attend the appointment at the Visa Application Center or visa interview at the Embassy/Consulate. Parents, guardians, and authorized representatives can present the documents above.
DS-160 information
Each applicant – including children – must have their own Form DS-160 visa application. The Form DS-160 must be completed and submitted online prior to your interview at the Embassy or Consulate. The barcode number on the Form DS-160 confirmation page is required in order to book your interview. The Form DS-160 must be submitted online and the printed confirmation page must be brought to the interview. The Embassy or Consulate will not accept handwritten or typed applications and you will not be permitted to attend your interview without a Form DS-160 confirmation page.
When you sign your DS-160 electronically, you are certifying that all the information contained in it is true and correct. Misrepresenting any facts could render you ineligible to enter the United States. Please double-check that all your answers are accurate and that every question is answered completely.
Note: DS-160 visa application is valid for one year from the date of submission on the Form.
Guidelines for completing the Form DS-160
Complete and submit your Form DS-160 after reviewing the nonimmigrant visa application process. You must submit your DS-160 application online prior to making an appointment for an interview at the Embassy or Consulate.
- The interview Embassy/Consulate you select at the beginning of the Form DS-160 can be different from the Embassy/Consulate where you schedule your interview appointment. However please note that the Embassy/Consulate must be located within India (New Delhi, Mumbai, Chennai, Hyderabad and Kolkata).
- All questions must be answered in English using English-language characters only, except when you are asked to provide your full name in your native alphabet.
- If you stop working on this application for more than 20 minutes, your session will expire. You will have to start over, unless you have recorded your Application ID Number or have saved your application to a file on your computer. Write down the Application ID displayed on the top right-hand corner of the page. If you need to close the browser before submitting your application, you will need this Application ID to continue your application.
- The completed DS-160 application form will generate an alpha-numeric barcode confirmation page. Print this page. The printed confirmation page is required for the appointment at the Visa Application Center and for the interview at the Embassy/Consulate.
- Once you have printed the barcode confirmation page, hit the “Back” button on your web browser and then email yourself a backup copy of the DS-160. The emailed file will be in PDF format, which requires Adobe Acrobat to view or print.
More Information
Any inquiries on completing the DS-160 will be addressed on DS-160 FAQs . We are unable to answer any questions or provide guidance on this process.
Select here to access Online Nonimmigrant Visa Application, Form DS-160 .
Fingerprints
During the visa process an ink-free, digital fingerprint scan will be quickly taken. All nonimmigrant visa applicants ages 14 to 79 must be fingerprinted, and all immigrant visa (IV) applicants ages 14 and above must be fingerprinted.
There are some applicants whose fingerprints are not required, including:
- Applicants traveling on official government business, except for A-3 and G-5
- Applicants under age 14 or age 80 and over
Photo requirements
Your visa application photo must meet certain criteria regarding size and content. Submitting photos that do not meet these criteria can delay the visa application process. To reflect your current appearance, your photo must be taken within the last six months. If you are renewing a previous visa, this generally means your photo must not be the same one that appeared on your old visa.
If your photo does not meet the requirements, you will be required to submit a new photo before your visa is processed, even if the visa application system accepted it as a digital photo upload.
Important Notice: Children under 14 years of age are not required to attend the appointment at the Visa Application Center or visa interview at the Embassy/Consulate. Parents, guardians, and authorized representatives can present the documents above.
Best blog ever! Its helps me alot while my Visa processing.
To apply for a US visa appointment at an embassy, you will need to:
Thanks for sharing informative information its very helpfull for everyone.
I appreciate the insights and personal experiences shared in this post. They offer a real-world perspective on what to expect during the embassy appointment process.
Your explanation of how to apply for a USA Visa appointment is truly enlightening. Thanks for guiding applicants through this crucial step in the visa application.
Thank you for sharing this informative article. It is very helpful for those who are planning to apply for a USA Visa.
Scheduling a U.S. visa appointment can be a straightforward process when you follow the provided steps and ensure that you have all the necessary documents in order. It’s important to pay close attention to the specific instructions and guidelines provided by the U.S. embassy or consulate where you’re applying, as procedures may vary slightly from one location to another. Additionally, be prepared for potential wait times, as appointment availability can vary based on demand and the time of year.
I can’t thank the author enough for this informative blog. The step-by-step guide to securing a USA Visa Appointment at the Embassy is a game-changer. Your efforts to demystify the process are greatly appreciated.
these visualize steps and information is usefull for all the candidate who is applying visa
Thank you for sharing this helpful resource! The US visa application process can be daunting, but this article makes it easy to understand and follow. I would also recommend that applicants practice answering common visa interview questions before their appointment.
Thank you for this informative guide on applying for a USA Visa Appointment at the Embassy. Your step-by-step instructions make the process seem much less daunting. I appreciate the valuable tips and insights you’ve provided, which will undoubtedly help many individuals navigate this important journey with confidence. Well done!
This is a very helpful blog for those who are trying to go USA.